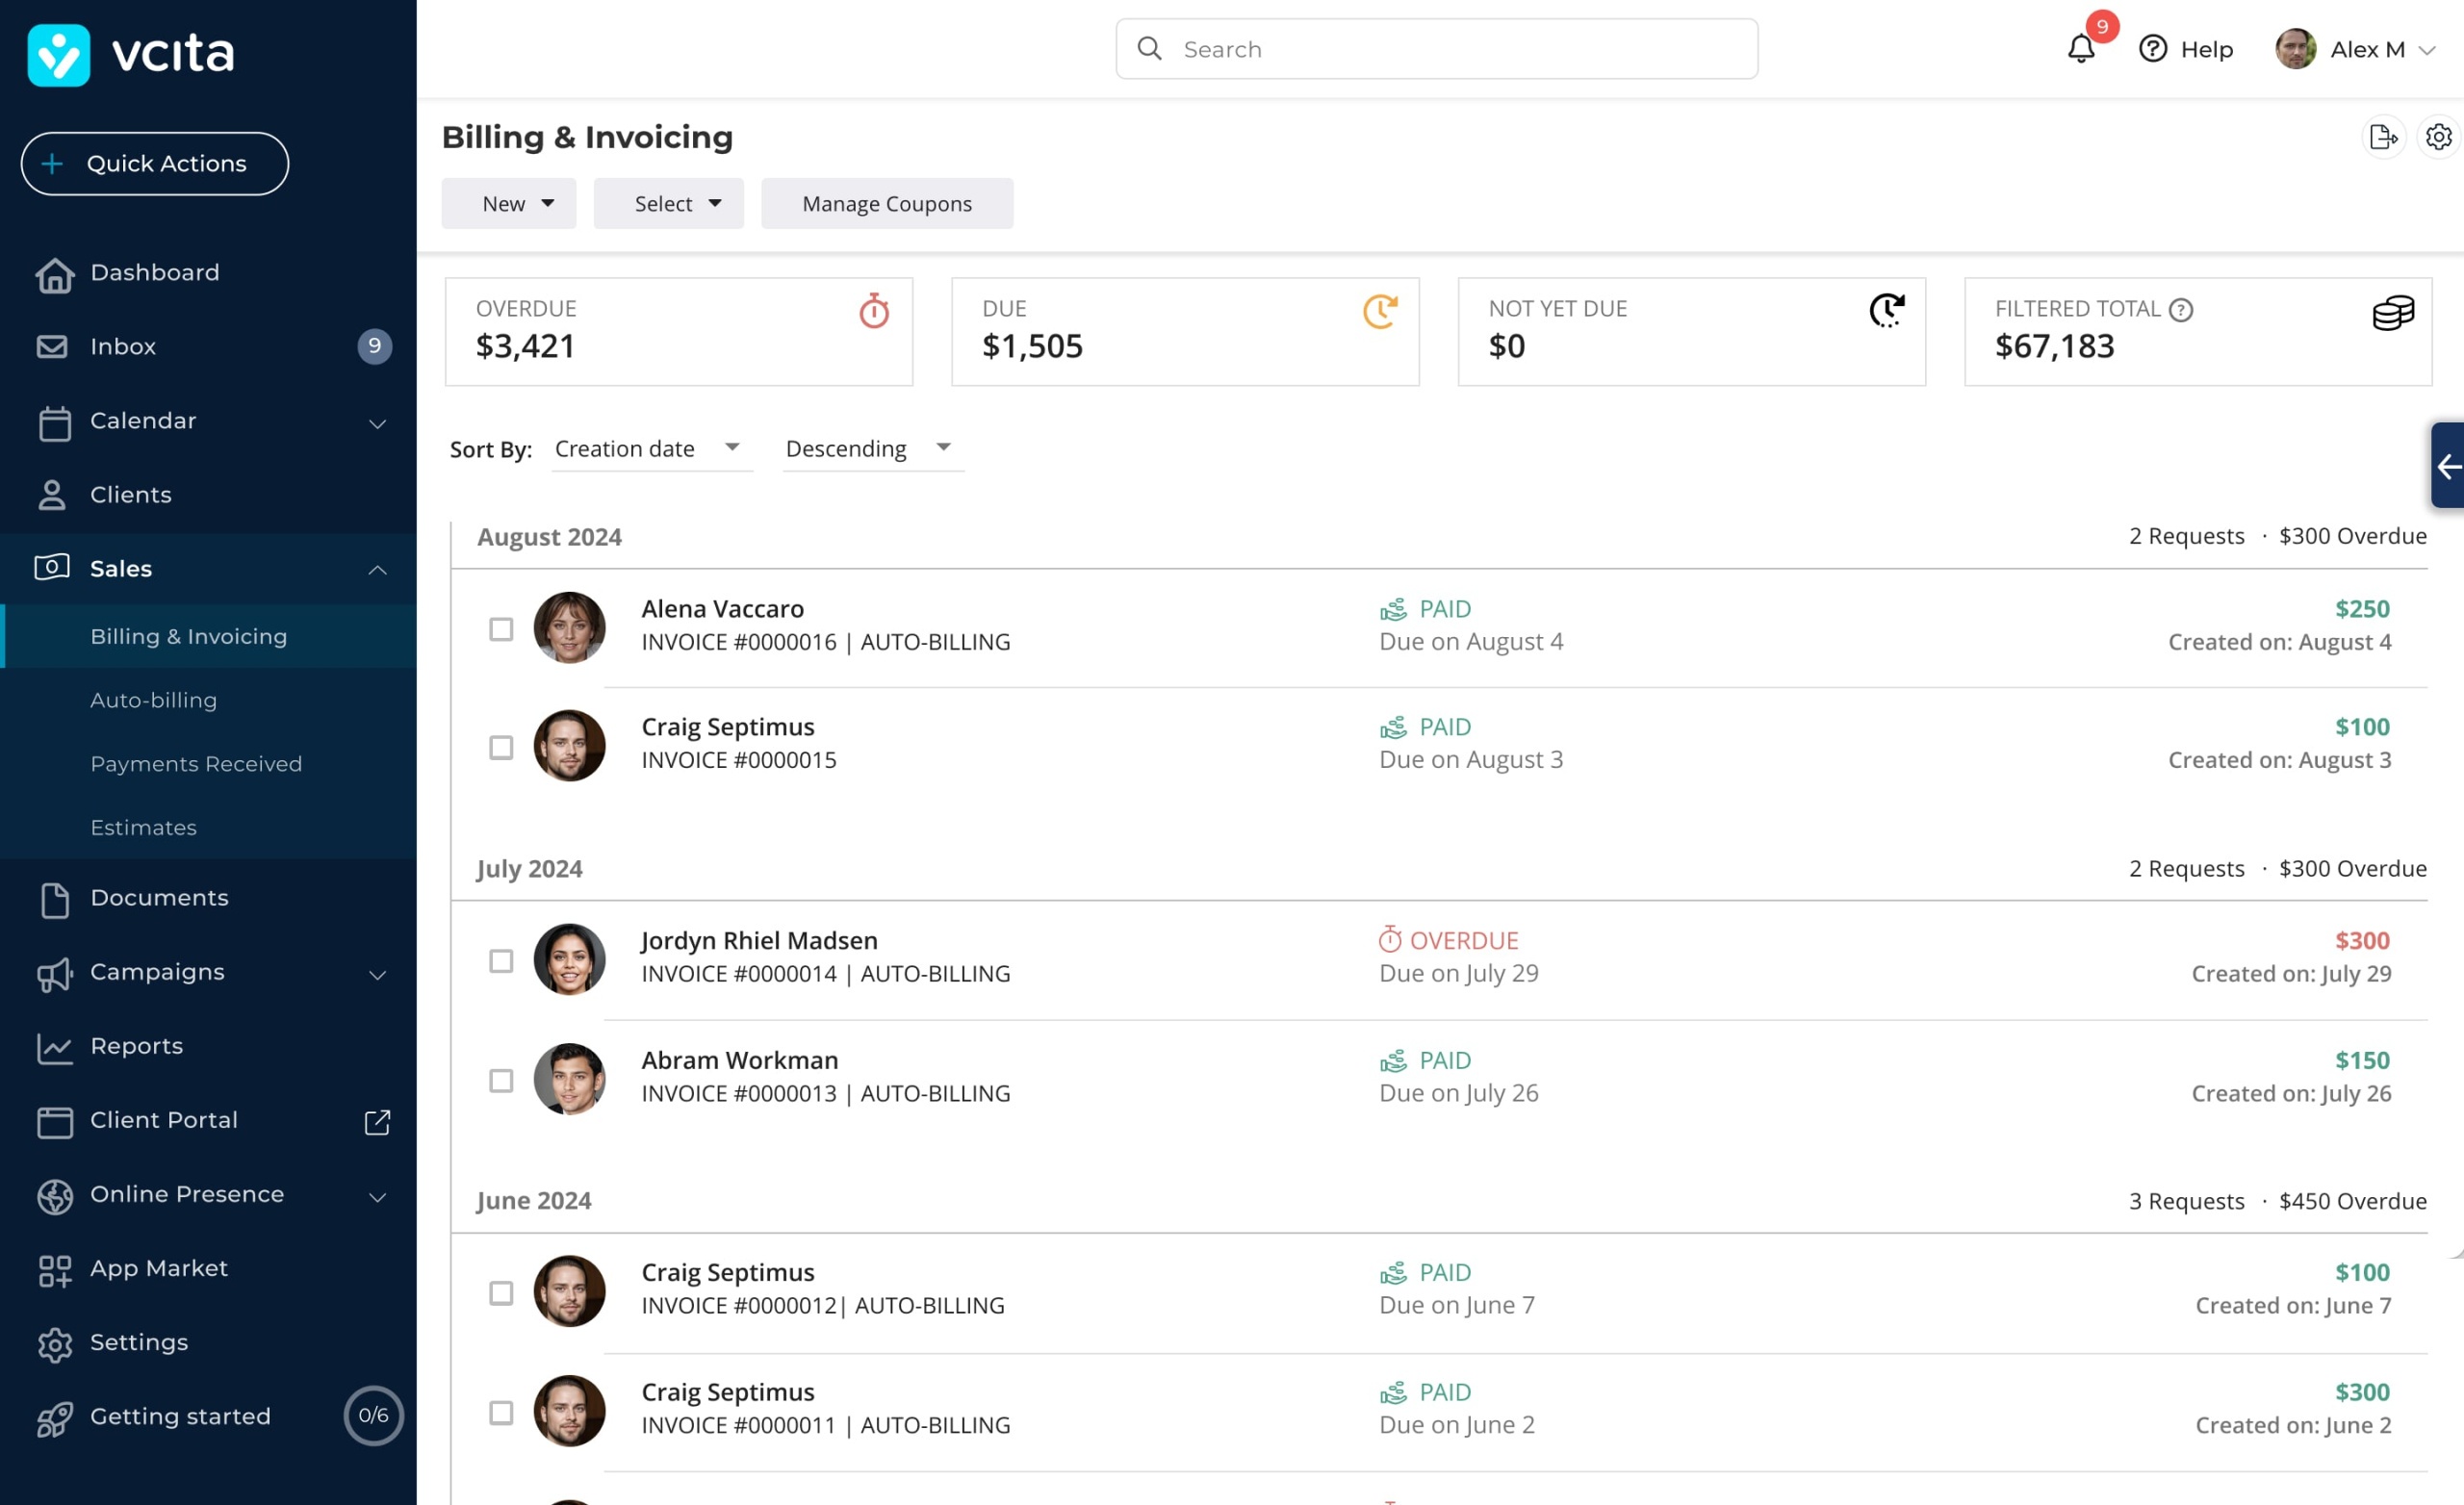
INVOICING SOFTWARE
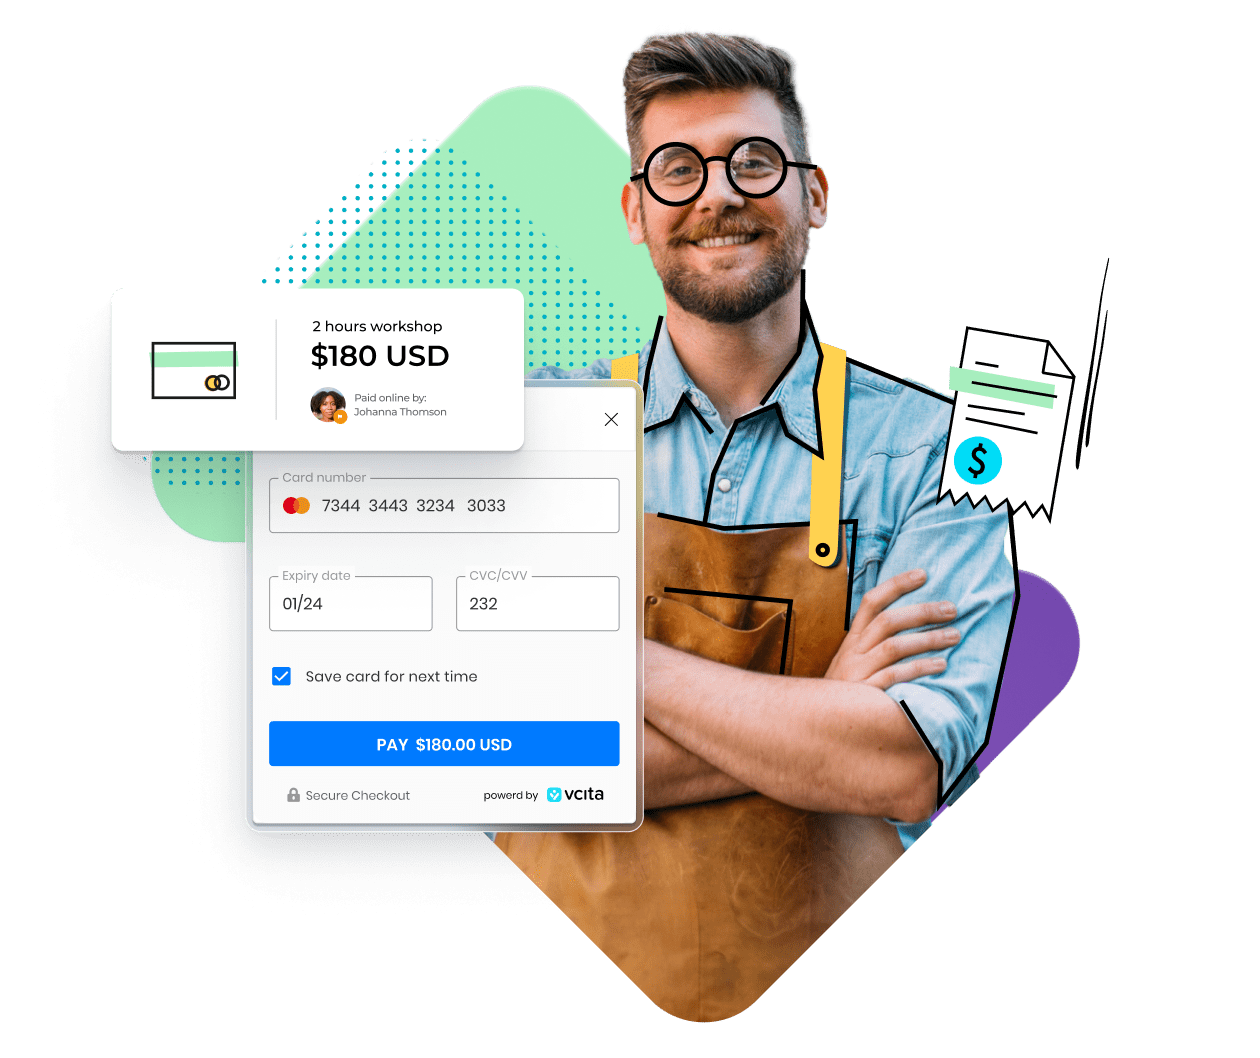
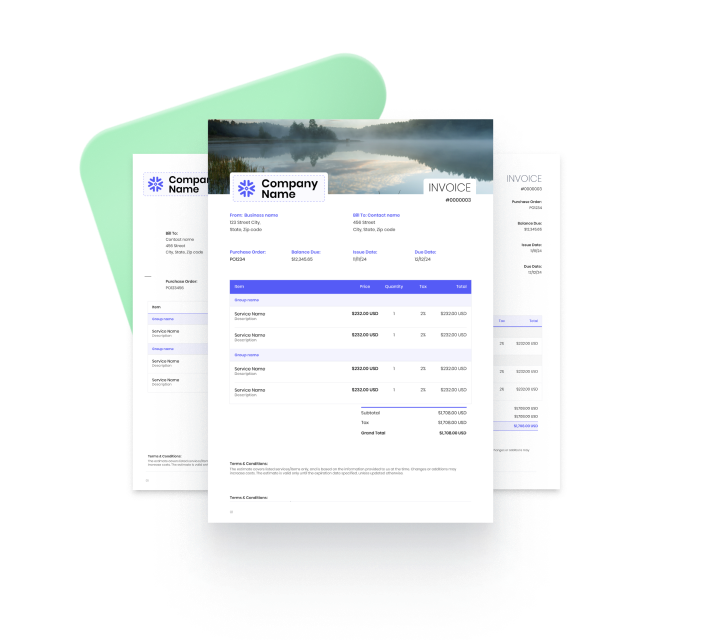
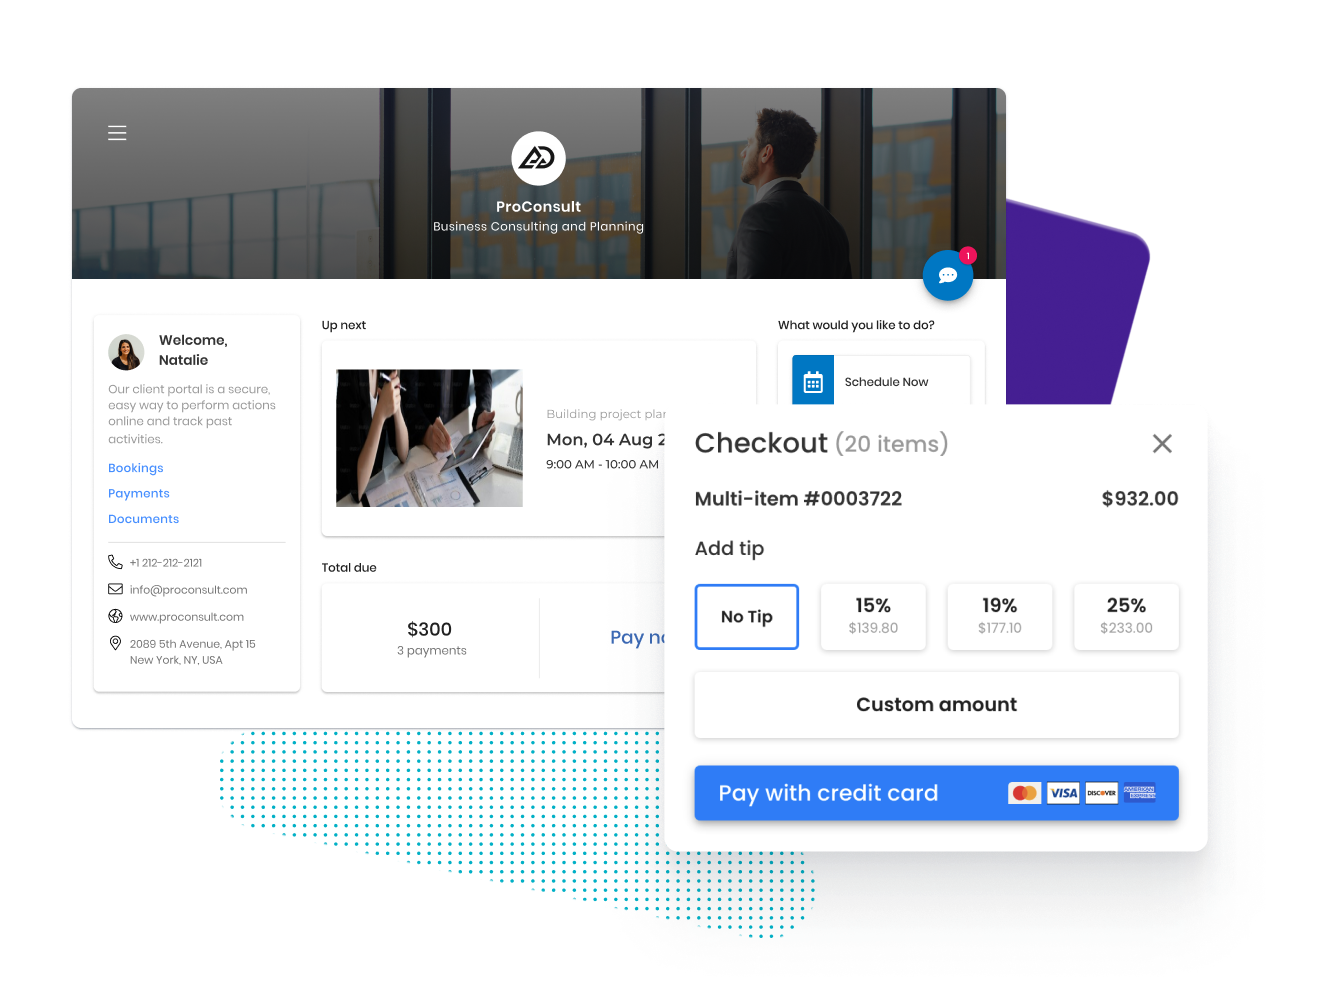
Get paid fast and easy, with professional invoices.
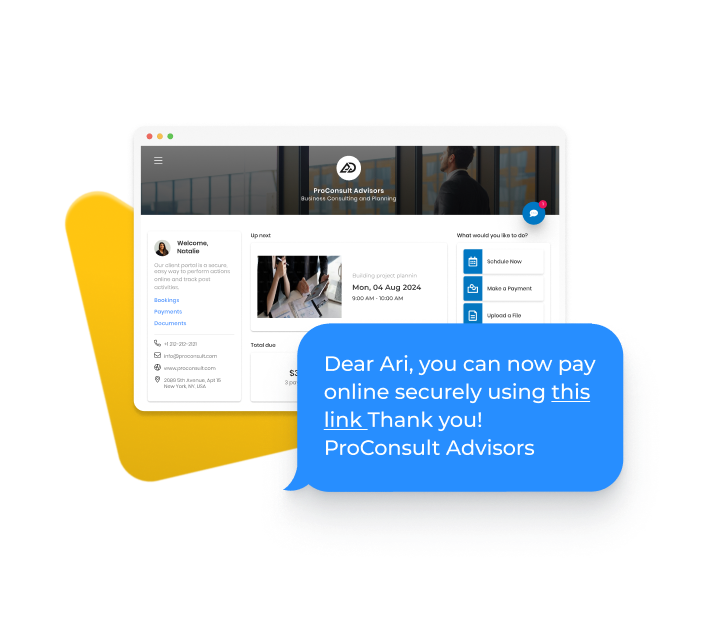
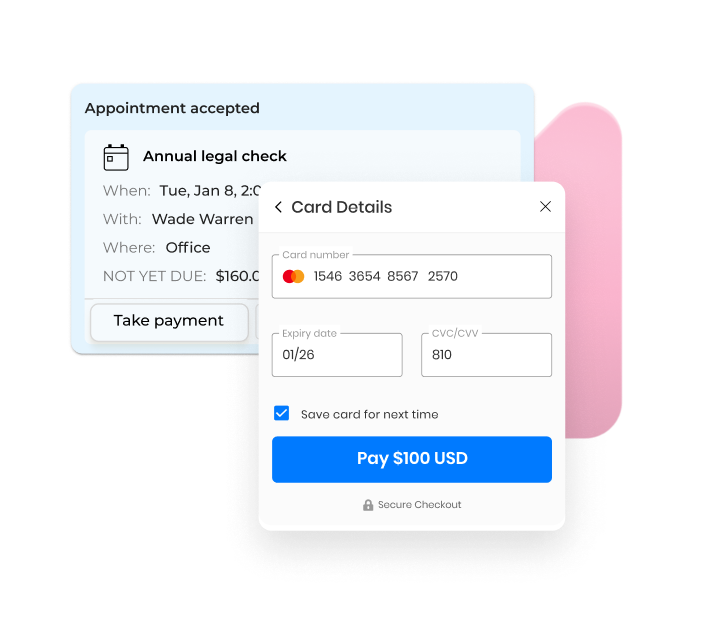
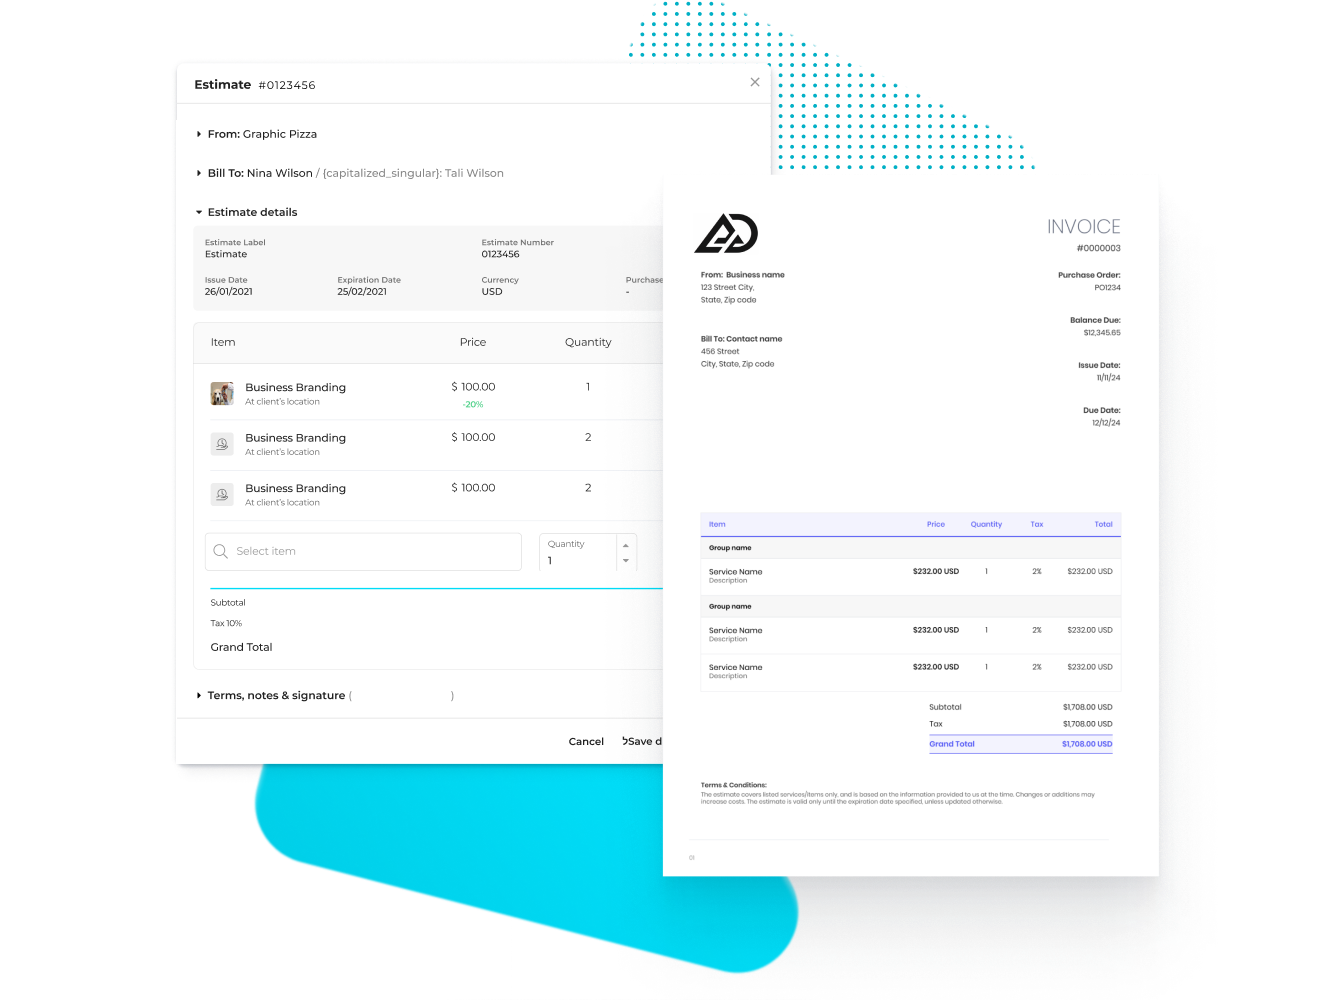
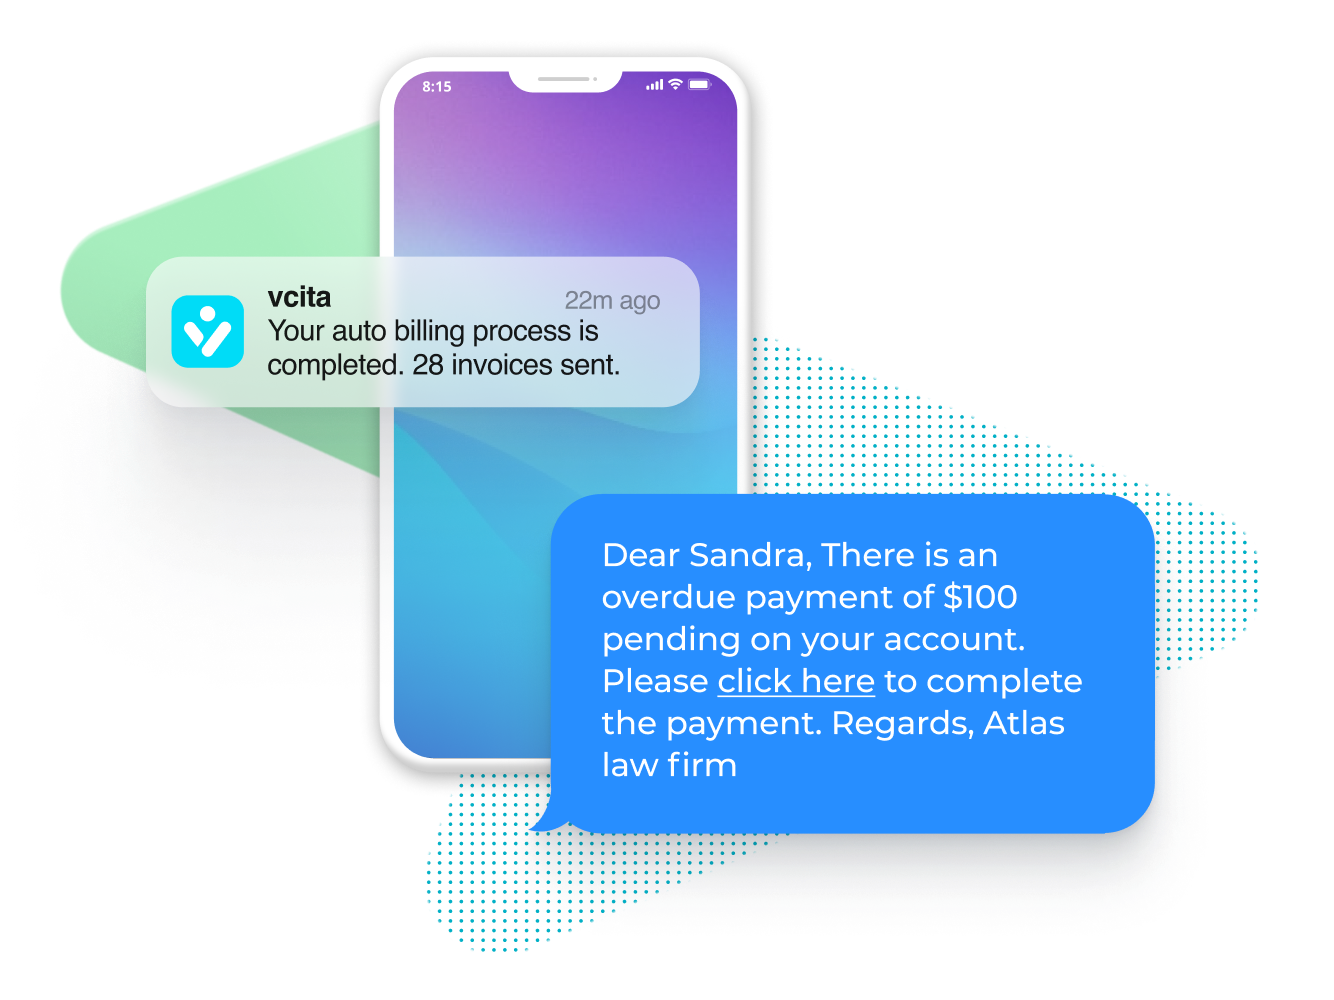
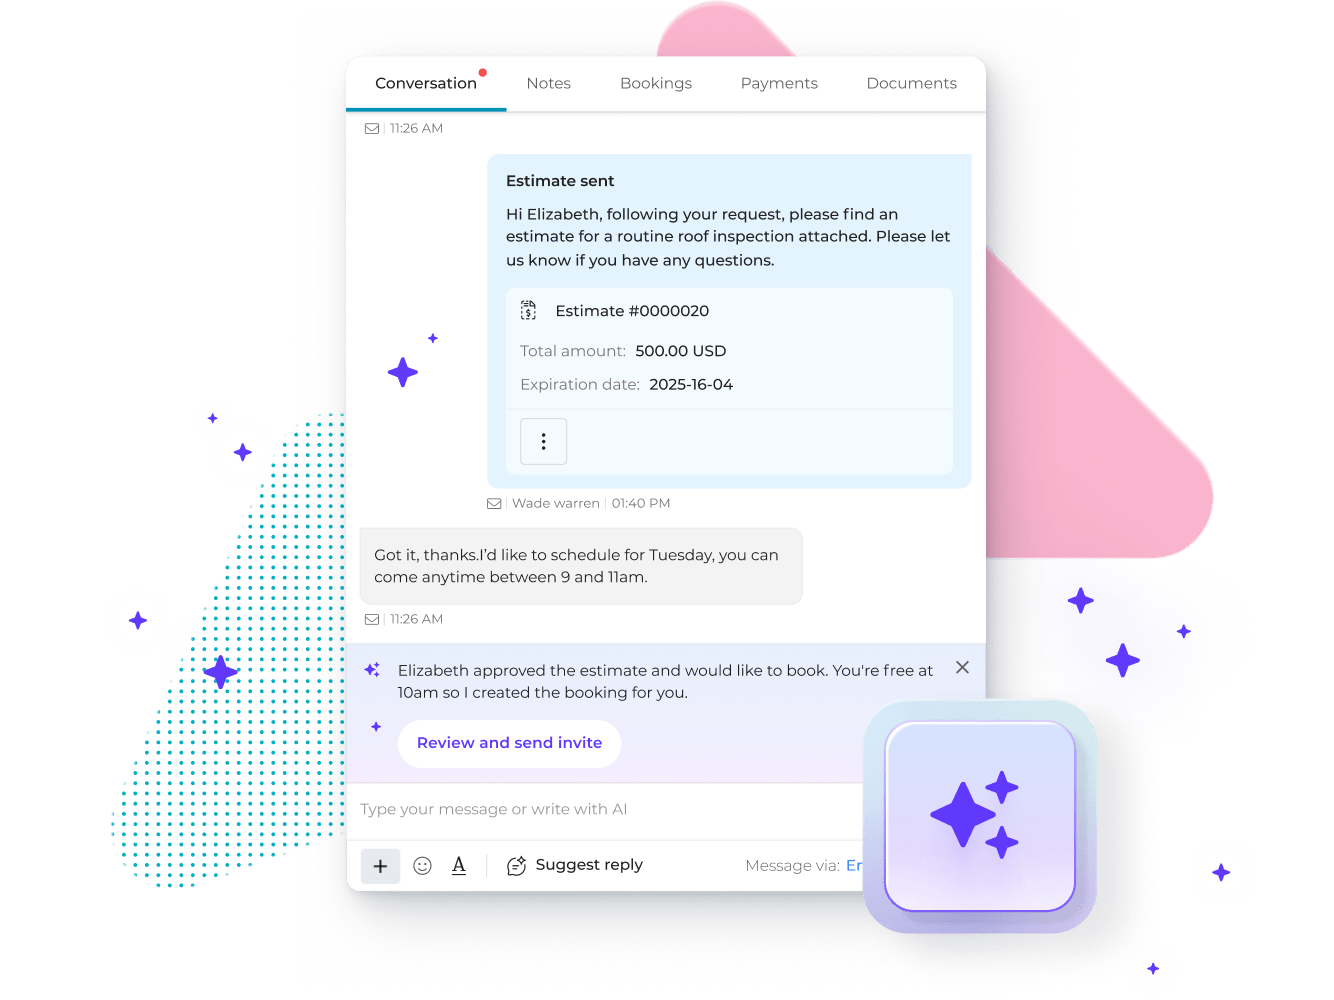
Manage your entire billing in one place: from estimates, online invoicing, billing automation, and payment reminders. vcita’s invoicing solution simplifies payment collection and gets your money in the bank fast.
No credit card required